Use cases
This section provides an insight on the scenarios where Intelliforms are applicable.- School or College Fees: Students pay semester-wise fees using their admission number.
- Housing Societies: Residents pay rent or maintenance using flat numbers.
- Memberships and Events: Members pay using a membership ID.
- Recurring Dues: Collect periodic payments with built-in expiry and late fee rules.
Key benefits
This section provides an insight on the key benefits offered by Intelliforms.- Single payment link: Share one link with all customers instead of generating individual links.
- Personalised payments: Based on uploaded data, customers can view their specific payment amount.
- Secure access: Optional One-Time Password (OTP) verification helps secure access by validating the customer’s identity before displaying payment details.
- Custom rules: Configure late fees, discounts, and customer-level expirations with ease.
How Intelliforms work
This section provides a brief overview of how Intelliforms work.- Merchant creates form: Define fields such as identifiers, personal details, and payment amount.
- Upload customer data: Upload an CSV file with customer information matching the form’s structure.
- Customer accesses link: The customer identifies themselves using their unique identifiers.
- Verification and payment: The system verifies the identifier, displays payment details, and accepts the payment.
Creating an Intelliform
Follow these steps to create and configure a new Intelliform through the Merchant Dashboard:1
Log in to the Merchant Dashboard
- Login to the Merchant Dashboard using your registered credentials.
2
Navigate to the Intelliforms section
- From the dashboard sidebar, select Intelliforms under the Payment Forms category.
- Click Create New Intelliform.
3
Enter form details
- Provide a Form Description to define the purpose of the form such as Semester Fee Collection.
- Set a Personalised URL (shortcode) that uniquely identifies the form.
- Choose an Expiry Date after which the form becomes inactive.
- Add a Redirect URL to guide users to a specific page after successful or failed payment.
4
Define form fields and structure
- Add required form fields:
- Unique Identifiers such as Admission Number, Flat Number.
- Personal Details such as Phone Number, Email, Parent’s Name.
- Row Identifiers such as Semester Name, if applicable.
- Payment Amount
- Collection Fields such as optional inputs like remarks or reference numbers.
5
Configure customizations (optional)
- Set up Late Fee Rules:
- Flat amount
- Per-day penalty
- Custom logic-based rules
- Define Discount Rules such as loyalty or merit-based discounts.
- Enable Data Upload Reminders via SMS or email for incomplete uploads.
- Toggle OTP Validation to restrict access and verify users via mobile/email.
6
Enable customer-level expiration (optional)
- Activate User-Level Expiration if you want each customer link to expire individually.
- Specify expiration dates within the uploaded data if required.
7
Save form
- Review the form and click on Continue.
- The form will be created and saved.
- Share the form link with your customers to begin collecting payments.
Creating Intelliforms
Uploading customer data
Follow these steps to ulpoad customer data from the Merchant Dashboard:1
Log in to the Merchant Dashboard
- Login to the Merchant Dashboard using your registered credentials.
2
Navigate to the Intelliforms section
- From the dashboard sidebar, select Intelliforms under the Payment Forms category.
3
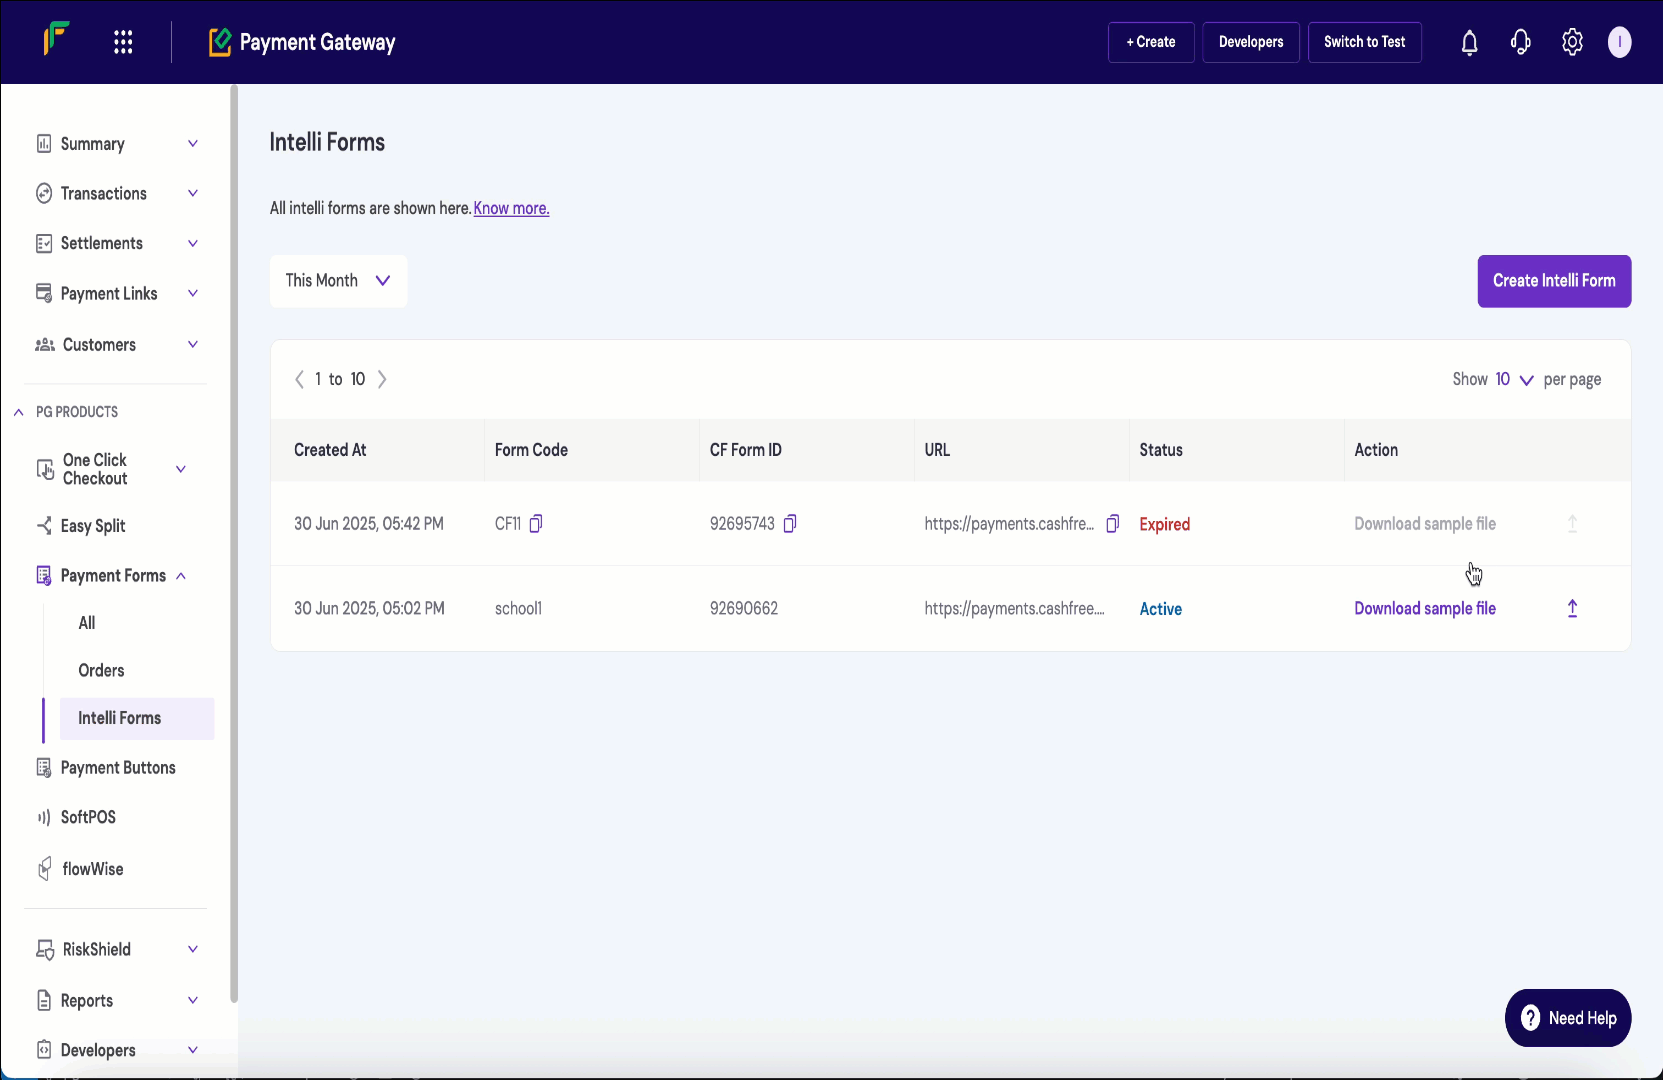
Download sample CSV
Download the sample CSV file by clicking Download sample file from the respective form present in the dashboard.
4
Fill in customer details
Fill in customer details following the predefined format.
5
Upload the completed file
Upload the duly filled CSV file.
6
System validation and processing
The system validates the file based on matching headers and processes valid entries.
Uploading Customer Data